Guide To Building Your Own Dog Splash Pad
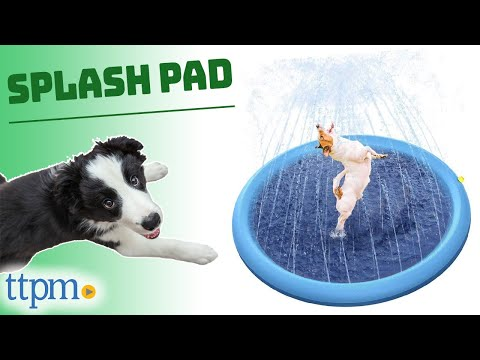
What Is a Splash Pad?
Dog splash pads are a fun way to cool off your dog on a hot summer day. They’re also great for dogs that have allergies or sensitive skin, or simply appreciate the chance to play in the water without getting too wet.
A dog splash pad is basically a shallow pool of water that you can fill with either fresh or saltwater, depending on your preference. The most popular dog splash pads are made from soft plastic or rubber, although some people make them out of concrete or even sand. The soft material makes it easy for your dog to jump in and out without hurting herself on sharp edges.
A typical dog splash pad will be around 3 feet wide and 4 feet long, although some can be much larger than this if you want them to be. There’s no reason why you can’t build one yourself if you’re handy with tools and have access to the right materials. It’s also possible to buy pre-made ones online or at pet stores if you don’t feel confident enough to make one yourself from scratch.
Do Dogs Like Splash Pads?

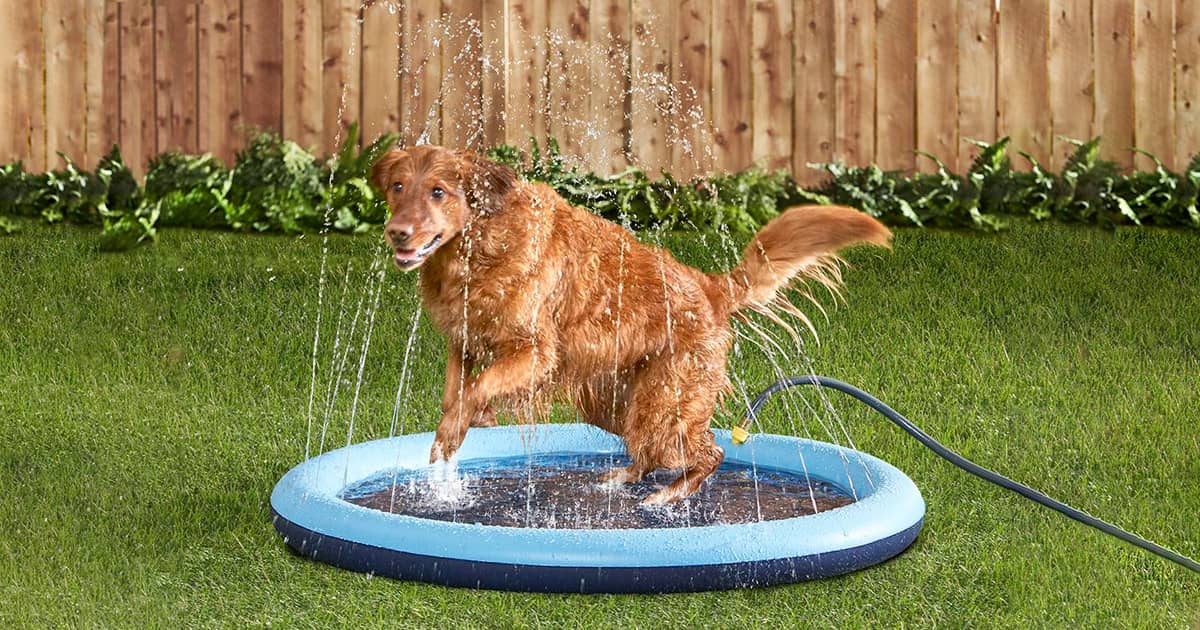
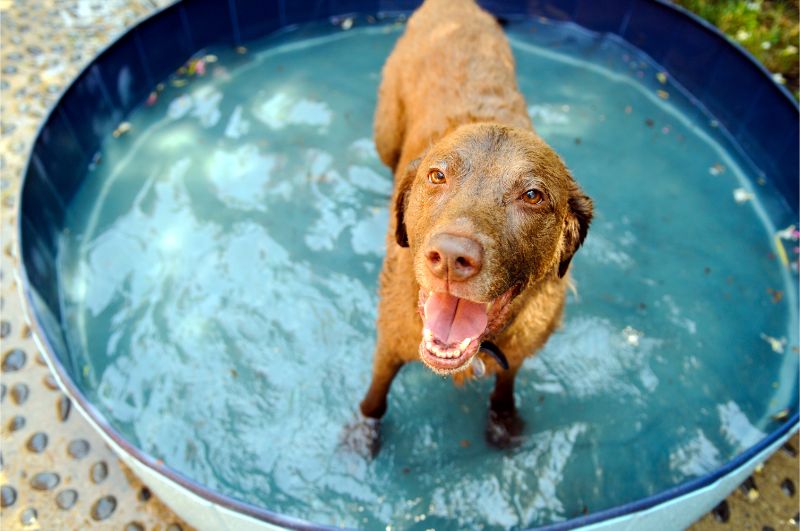
Splash pads are fun for everyone, but do dogs like splash pads? The answer is yes! Dogs absolutely love the water. A lot of dogs will enjoy splashing around in a pool or even taking a bath. But some dogs don’t like water at all. Obviously, if your dog doesn’t like getting wet then you should probably avoid taking him to any splash pads, parks, or beaches with lots of water.
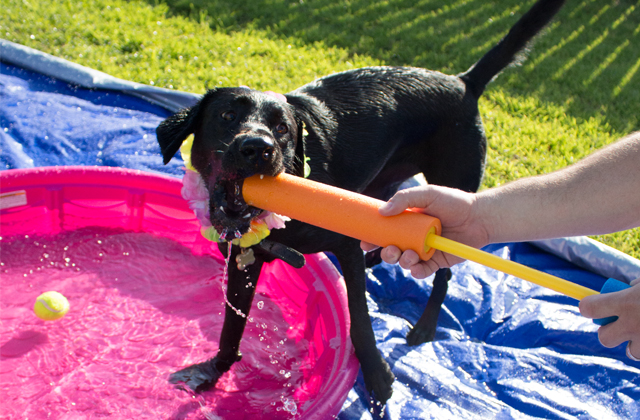
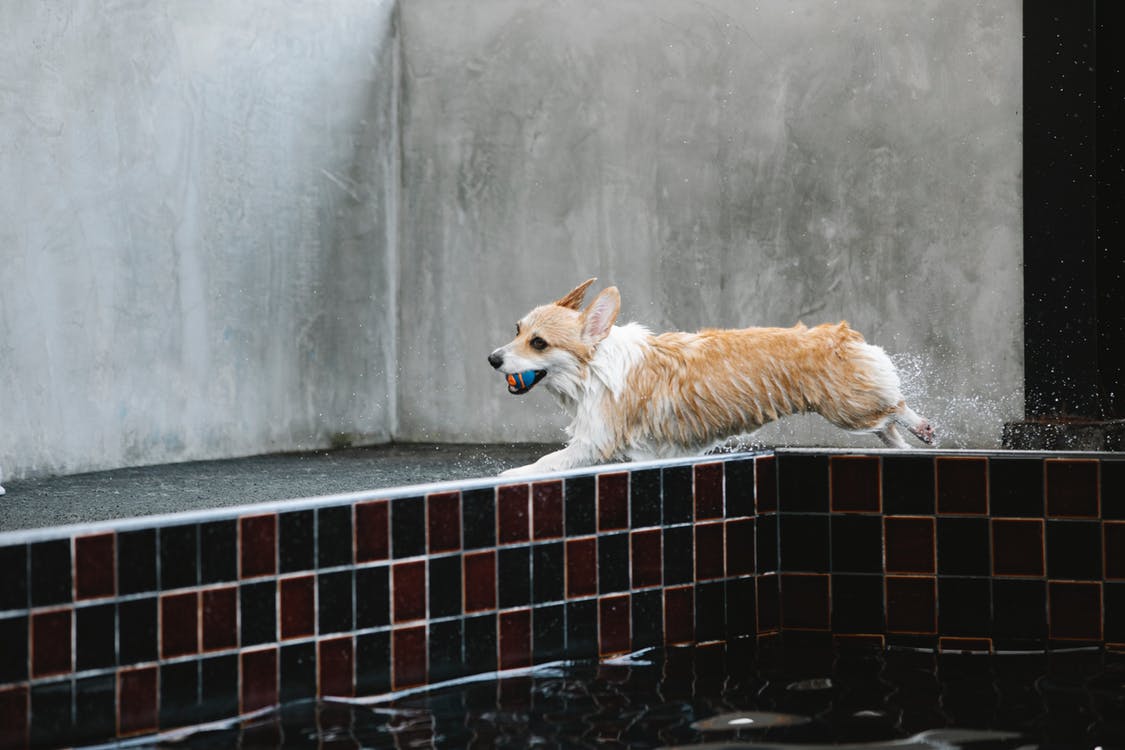
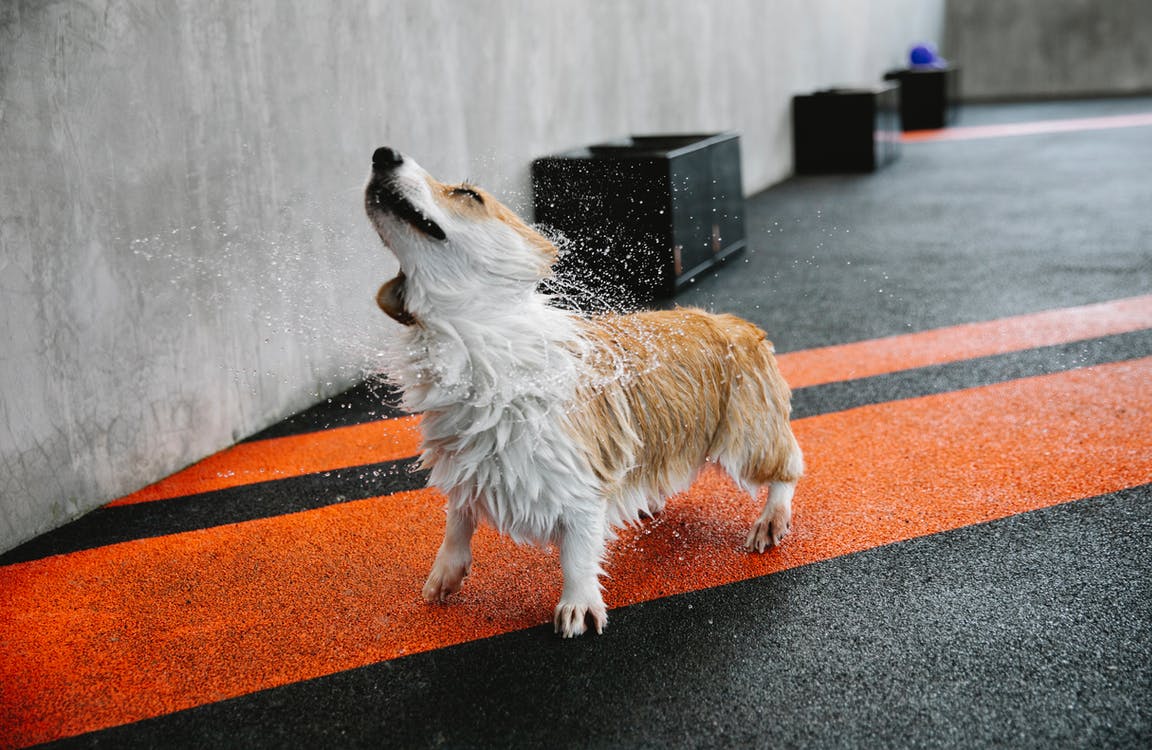
Dogs that do like getting wet can be quite entertaining to watch as they run and jump through the spray from a splash pad. If you’ve ever seen a dog playing in a sprinkler, you’ll know what I mean! Some dogs will even try to catch the falling water in their mouths and then shake their heads back and forth in order to get rid of it — just like we do when we’re caught in the rain.
So if your dog seems excited about going somewhere that has a splash pad or other fountains/sprayers, he might just enjoy himself there too!
Benefits of Dog Splash Pads
Dog splash pads are great for hot weather. They allow dogs to get plenty of exercise without having to go outside in the heat. They’re also a good option if you live in an apartment or condo with no yard.
They’re also a good choice for dogs with arthritis, joint problems, or other health issues that make it hard for them to walk long distances or run around on hard surfaces.
Splash pads give dogs something fun to do while you’re busy working at home or away from home at work or school. You may also find that your dog will spend more time playing on their own if they have access to one of these fun toys!
What Are Splash Pads Made Of?
Dog splash pads come in all different shapes and sizes. Some are large enough for multiple dogs to play at once, while others are small enough for just one or two dogs at a time. You’ll also find them made of different materials, including plastic, metal, and even rubber.
The most common material used to make dog splash pads is plastic. Plastic splash pads are lightweight, easy to clean, and typically come with a one-year warranty from the manufacturer. They also tend to be less expensive than other types of splash pads on the market today.
Metal splash pads are another popular choice among dog owners today. They tend to be more durable than plastic splash pads and may even last up to 10 years without any signs of wear and tear! However, they’re not as easy to clean as plastic models because they require more effort when it comes time for maintenance.
How to Build a Splash Pad
The things you’ll need to make your backyard splash pad are listed below. Remember that you can make changes if necessary, such as using a tarp instead of cement.
- 3/4 inch PVC pipe coupling
- 3/4 inch 90 degrees PVC pipe elbow
- PVC Slip Tee, 3/4-Inch
- 3/4-Inch PVC FIP Ball Valve
- Neon spigots
- Cement mix
- Kiddie pool
- Baby slide (optional)
It’s now time to learn how to make a backyard splash pad. A splash pad can be constructed in a variety of ways. You may either pour and use a cement pad, which is the type of splash pad we’ll be discussing today, or you can use a tarp to create a splash pad. Some folks have built their backyard splash pad on a hill so that it functions as a water slide as well. Always remember to use your creativity. You can try a variety of unique ideas. I’ll show you some of those inventive DIY splash pad ideas later in this article. But for the time being, it’s time to learn how to create your concrete splash pad.
Instructions:
Step 1: Pouring cement in the desired area is the first step in creating your customized DIY splash pad. You can move on to the next one if you already have a cement slab. It doesn’t have to be a precise square of the cement slab. You can also skip this step entirely by using a tarp instead of cement. If you don’t already have one, you’ll have to make one. The steps for pouring cement are as follows:
- Remove everything from the area. Make sure there are no rocks, grass, shrubs, or weeds in the area where you will pour the cement. Clear everything out until only the earth remains.
- Get your sub-base ready. Any substance that the cement will rest on is referred to as the sub-base. An excellent sub-base is made up of small rocks. The dirt itself is occasionally used, but this is unusual. If you want to use the soil as a sub-base, it must be extremely compact.
- Start blending the cement. Begin mixing the cement by following the manufacturer’s directions.
- Pour the concrete. Pour the cement onto the prepared area once it has been mixed. Smooth the cement with a screed (2′ x 4′ wood). Let the cement dry.
Step 2: The following step is simple. Connect the PVC pipes and make changes as needed. Perhaps you want the hose to connect at the corner rather than in the middle. Make modest tweaks to make your DIY splash pad more personalized. You can also choose where the “sprinklers” will go. You’ll connect the PVC pipes with a PVC slip tee and then attach the neon spigot once you’ve found a suitable location for a sprinkler. You may alter the height of these sprinklers by simply pushing them up or down. As a result, if the spigot is squirting water too high, simply lower it.
Step 3: After completing Step 2, you are technically finished with your DIY splash pad. Keep scrolling if you want to make your DIY splash pad even more enjoyable. Place a kiddie pool in the middle of the concrete slab. Then, with a baby slide, place the slide’s end into the kiddie pool so that your child can slide into the water. This is more of a setup for small toddlers. Replace the little kiddie pool and baby slide with a larger pool and a larger slide if you have older children or wish to use your backyard as a splash pad (splash pads are fun for adults too!). Always keep the setup secure. Remind your kids that they cannot plunge into the water while sliding down the slide. Additionally, ensure that the slide is stable and will not slide away owing to the slick water. After finishing this step, your DIY splash pad is complete. You and your kids will have hours of fun building your backyard splash pad, so get started today!
The answer is yes — most dog splash pads do contain some level of chlorine. This is true for both backyard ponds and city-maintained fountains. Chlorine keeps bacteria levels down in these public spaces by killing off any microorganisms that could threaten human health. It’s also used to help reduce algae growth, which can make swimming areas unsafe due to slippery surfaces or eye irritation from green scum floating on top of the water surface.
Is splash pad worthy of the hype? Let’s find it out!